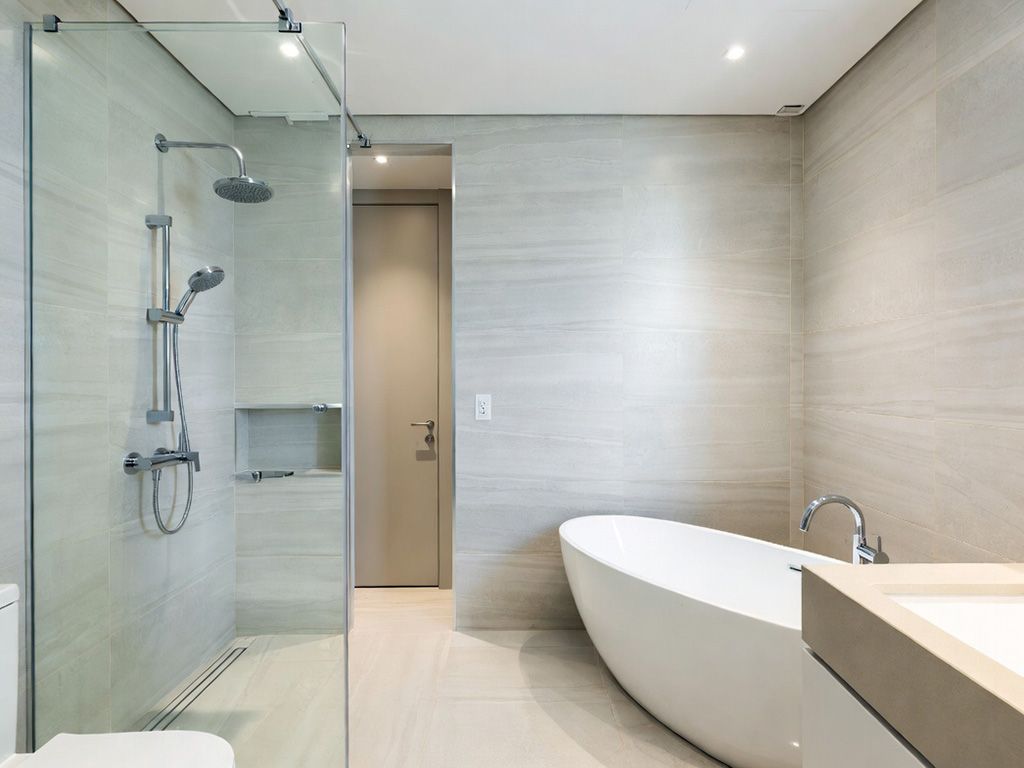

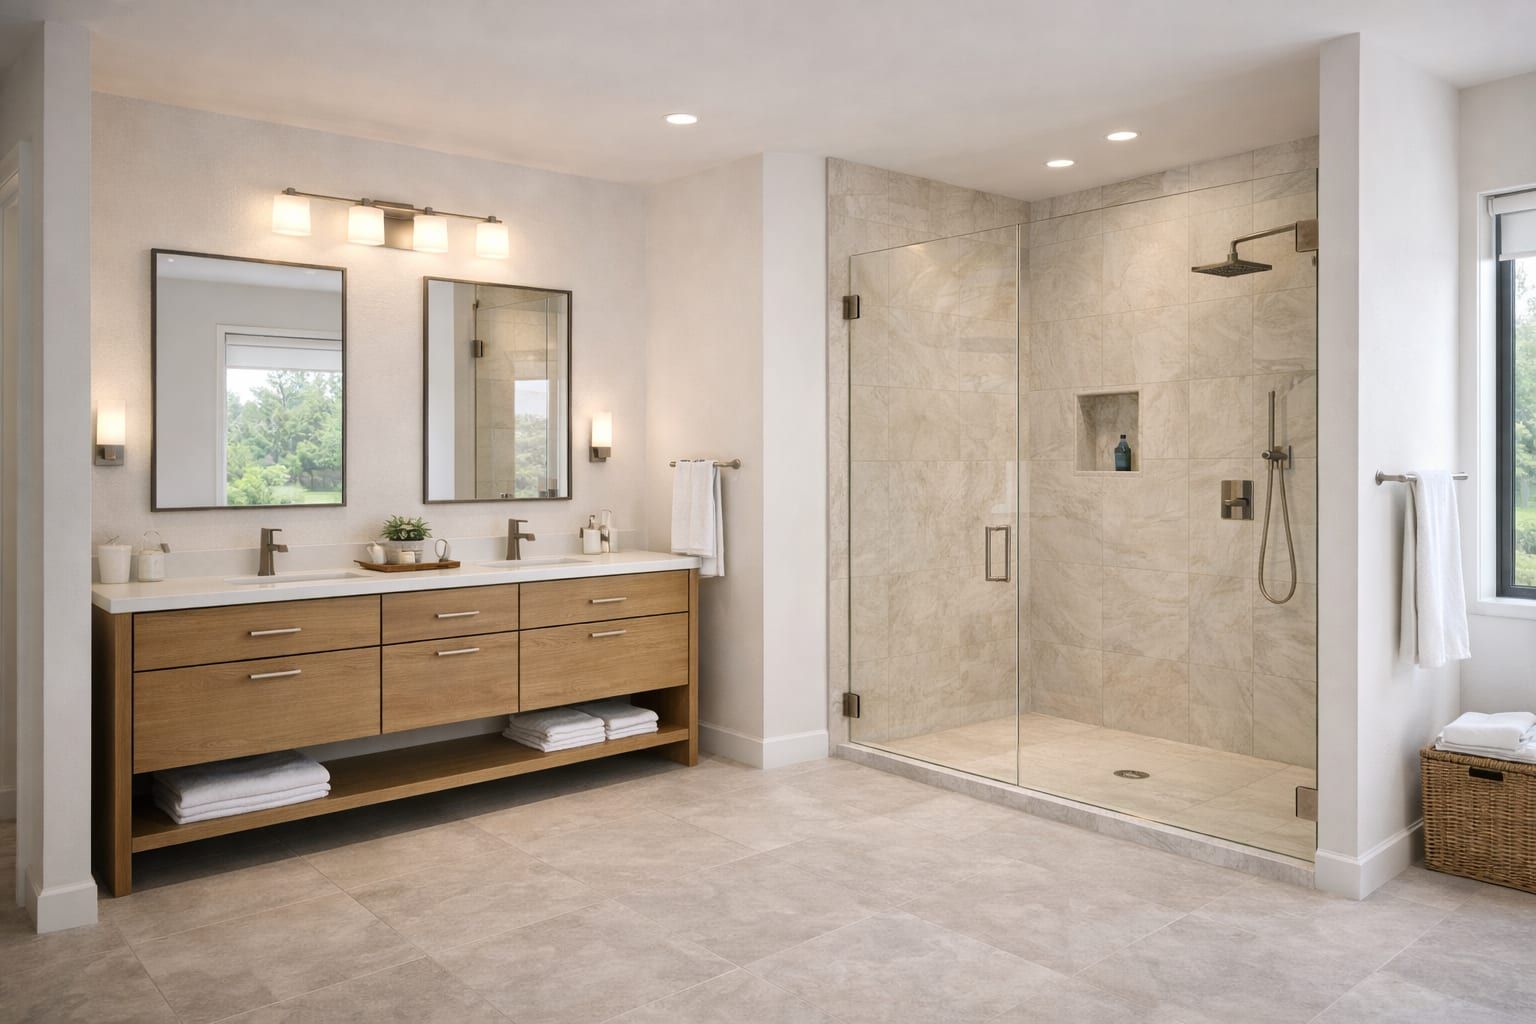
A bathroom remodel is easier to plan when every trade and finish decision has a place in the sequence. The exact order changes with the scope, the condition behind the existing finishes, product lead times, and whether the home has another working bathroom. The useful goal is not to force every project into one rigid schedule. It is to keep later work from damaging earlier work and to leave enough time for wet-area materials, coatings, sealants, and adhesives to perform as intended.
Quick takeaways
- Finalize the major products before demolition. Vanity dimensions, fixtures, tile, trim, lighting, and hardware affect layout and rough work.
- Inspect the room after demolition. Hidden moisture, weak subfloor, damaged framing, or old plumbing can change the plan.
- Build wet areas from the substrate outward. Repair, waterproofing, tile, grout, and sealant belong in a deliberate sequence.
- Protect cure time. Dry-to-touch and ready-for-normal-use are not always the same thing.
- Save accessories and punch-list work for the end. Mirrors, towel bars, touch-ups, caulk, cleaning, and adjustment should not compete with heavy work.
1. Define the scope and room-use plan
Before ordering products or opening walls, decide what is actually changing:
- tub, shower, or both
- vanity and countertop
- toilet
- flooring
- wall tile or surround
- lighting and ventilation
- paint, trim, doors, and accessories
- accessibility or aging-in-place needs
For a one-bath home, also decide how the household will manage downtime. A vanity refresh, a shower rebuild, and a complete layout change do not create the same disruption.
Start with the bathroom updates overview and the one-bath-home timeline guide when access is a major constraint.
2. Confirm selections and dimensions
Major products should be selected early enough to verify fit and rough requirements. Check:
- vanity width, depth, sink location, and plumbing clearance
- shower valve and trim compatibility
- tub or shower base dimensions
- tile thickness and transition details
- toilet rough-in and door clearance
- mirror, medicine cabinet, lighting, and outlet relationships
- grab-bar blocking or other support needs
Late product changes can move plumbing, electrical, blocking, tile layout, and trim details. A measurement problem discovered after finish work begins is more expensive than one found during planning.
The bathroom vanity replacement planning guide covers the most common fit questions.
3. Protect the home and remove the existing finishes
The work area should be isolated before demolition begins. Protect adjacent floors, plan debris movement, control dust, and identify which fixtures or surfaces will remain.
Demolition should expose enough of the room to evaluate the real condition without damaging work that is intended to stay. Once finishes are removed, inspect:
- subfloor and wall substrate
- framing around wet areas
- plumbing connections and shutoffs
- ventilation paths
- signs of moisture or previous patching
- electrical placement and access
This condition check is the point where the original estimate and the actual room are reconciled.
4. Complete repairs, rough work, and blocking
Structural repairs, subfloor correction, framing changes, plumbing rough work, electrical rough work, ventilation changes, and blocking should happen before surfaces are closed.
Blocking matters for grab bars, heavy mirrors, wall-mounted vanities, shower doors, and accessories. Rough locations should be checked against the actual product specifications, not only a generic sketch.
5. Prepare and waterproof wet areas
Showers, tub surrounds, and other wet zones depend on the system behind the visible tile. The substrate, transitions, corners, penetrations, curb or base, and drain relationship should be resolved before tile starts.
Waterproofing products and assemblies have specific installation and cure requirements. The correct sequence should follow the selected system rather than a universal shortcut.
For broader wet-area planning, see the bathroom shower remodel guide.
6. Install tile, grout, and related surfaces
Tile layout should be established before setting begins. Important decisions include:
- starting points and visible cuts
- niche and fixture alignment
- edge profiles and transitions
- floor-to-wall relationships
- grout direction and joint width
- thresholds and adjacent flooring
After tile is set, grout, sealant, and any required cure time should be respected before normal use or hardware installation.
7. Sequence flooring, vanity, paint, and trim
The order among flooring, vanity, base trim, and paint depends on the products and room design. What matters is that the team agrees on the relationship before installation.
Typical coordination questions include:
- Does the flooring run beneath the vanity or stop at it?
- Does wall paint happen before or after the vanity is set?
- Are baseboards installed before final wall touch-ups?
- Does the countertop template depend on the vanity being permanently installed?
- Are door and casing changes part of the same scope?
Painting is usually safer after the heaviest demolition and substrate work, but final touch-ups often belong near closeout.
8. Install fixtures, glass, hardware, and accessories
Once the supporting surfaces are ready, install and test the remaining components:
- toilet and vanity plumbing
- faucet and shower trim
- lighting and electrical devices
- mirror or medicine cabinet
- shower glass or curtain hardware
- towel bars, hooks, paper holder, and shelves
- door hardware and stops
Fixtures should be tested for function and leaks before the room is treated as complete.
9. Finish the punch list and closeout
The final pass should include:
- caulk and sealant review
- grout and tile cleanup
- paint and trim touch-ups
- door, drawer, and hardware adjustment
- fixture testing
- ventilation check
- protection removal and cleaning
- care and maintenance notes
A clean closeout is part of the project, not an optional extra after the room is already in use.
Plan the sequence around your actual bathroom
Room condition, product availability, wet-area scope, access, and household needs determine the practical order. The bathroom remodel cost-drivers guide explains why those same conditions affect pricing.
Share photos, rough measurements, and the changes you are considering through the Bluegrass Finish contact page.

Need help planning the next step?
Share photos and rough measurements to get a clear yes/no on fit and the right follow-up.